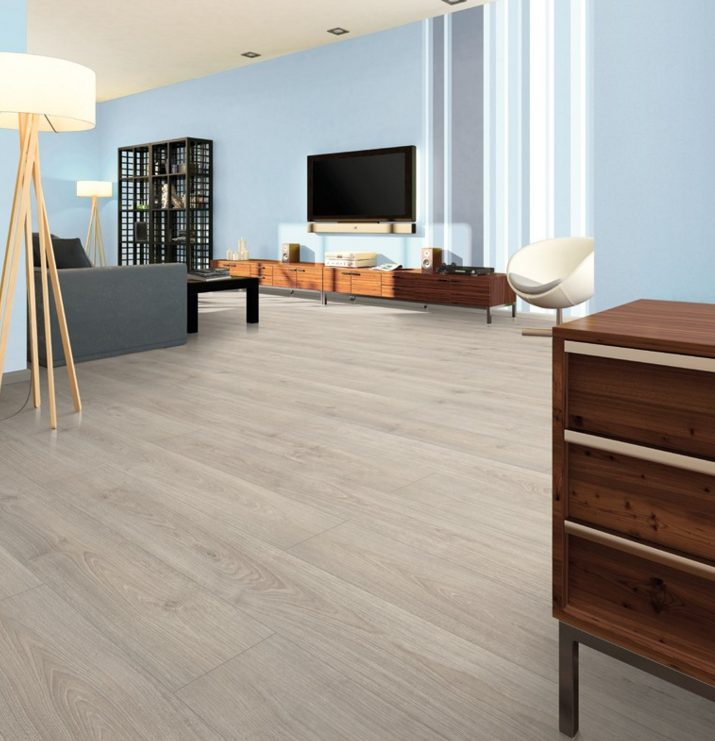
If you’ve never fitted laminate flooring before, you might think it’s beyond your DIY capabilities and that you’ll need to pay a professional to do the job. While this is of course a sure-fire way to guarantee a perfect finish, if you’re moderately confident about your DIY skills and have all the tools necessary, there’s no reason why you shouldn’t be able to complete straightforward flooring jobs yourself. Laminates such as Woodpecker laminate flooring are designed to be easy to install, meaning any competent DIYers should be able to achieve a professional-looking finish.

Prepare Your Sub-Floor
The exact steps you’ll need to take to prepare your subfloor will depend on the type of subfloor you have, the conditions in the room in which you’re working and the type of floor you’re installing. Refer to the manufacturer’s guidelines before you begin, so you can be confident the flooring you are purchasing is the right option for conditions in your home.
Allow the Flooring to Acclimatise
If you’re planning to spend a weekend laying your new flooring, make sure you buy your Woodpecker laminate flooring, or whatever brand you’ve chosen, ahead of time. Your flooring needs time to acclimatise, so you’ll need to leave the packs of flooring lying horizontally in the room they are going to be installed in. Leave them in this position for at least 48 hours or the time specified by the manufacturer. Make sure you don’t place the flooring in direct sunlight or next to a hot radiator or heater. While the floor is acclimatising, you can take care of other steps, such as removing skirting boards if you have decided this is necessary.
Don’t Forget Underlay
The type of underlay you’re using will depend on your existing flooring and the type of laminate you’re installing. Make sure you have enough underlay before you start, and carefully follow the manufacturer’s instructions to prevent problems later on.
Tips for Laying Your Flooring
Planks should always be laid facing towards the window, so light travels along the length of the plank rather than hitting it side on. Identify your starting point, and use spacers to ensure you maintain the correct gap between your first row of planks and your wall or skirting board.
If you have any questions about our range of laminates, our friendly and helpful staff are always ready to take your call.
